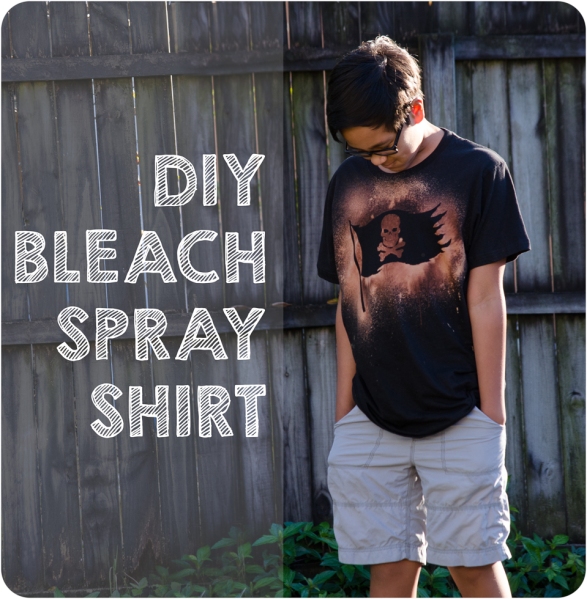
Duncan needed something piratey to wear for this year’s Gasparilla parade, so we decided to whip up our own DIY pirate shirt! For those of you not in the know, each year Pirate Jose Gaspar and his unruly crew parade through downtown Tampa and the mayor hands over the key to the city during Gasparilla, our version of Mardi Gras, with parades and festivities for kids and adults.
Well, you can’t just show up to Gasparilla without dressing the part! But instead of buying some new pirate garb this year, we decided to get crafty. Duncan says our bleach spray pirate shirt turned out pretty awesome (which, from the mouth of a twelve year old little dude, is quite the good review) and it was super easy to make!
Bonus… it’s pretty cheap too! 😉
So here’s what you’ll need to make your own bleach spray pirate shirt:
- tee shirt
- bleach
- spray bottle
- freezer paper
- pencil/pen
- tee shirt
- iron
- scissors or crafting knife
- cardboard (to put in your shirt to prevent bleeding through)
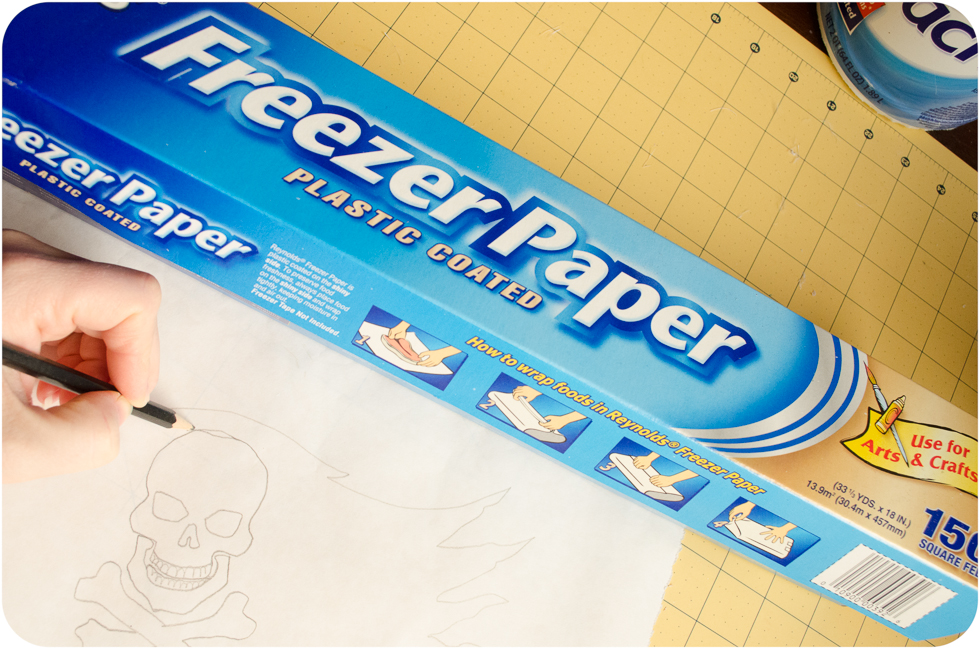
If you’ve never crafted with freezer paper you may soon find yourself saying, as I did, “Where the heck have you been all my life?” Sure, it may sound ridiculous now… but my fellow crafters know the joy of a tool newly discovered, and freezer paper is definitely one that you’ll want to keep in your stash. You can find it in your local grocery store with the cling wrap, and parchment paper and the like. Unlike parchment paper, freezer paper is shiny on one side… which makes it perfect for creating iron on stencils.
HOW TO:
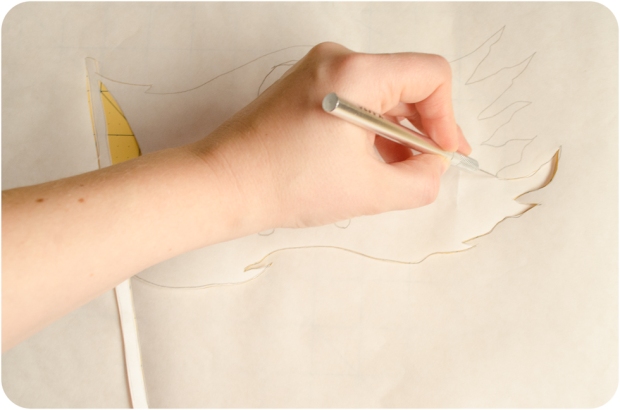
Your first step is to find or create the design for your stencil. We googled “pirate silhouette” to find some good designs. Once you’ve got your idea, draw or trace it onto your freezer paper (the paper side, not the shiny side).
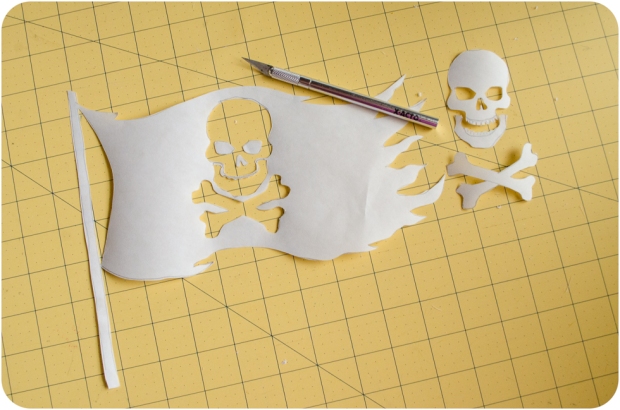
After completing your design, carefully cut it out using your crafting knife or scissors.
After cutting, be sure to keep track of any small parts!
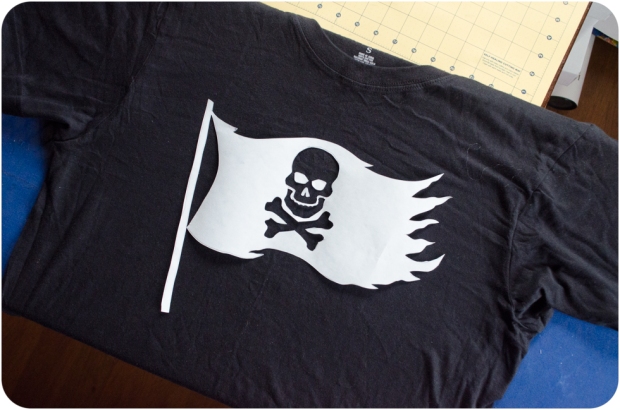
Put your stencil on your shirt, making sure placement is right where you want it. We found that it’s easier to do the big part first and iron the little bits after the big stencil is firmly in place.
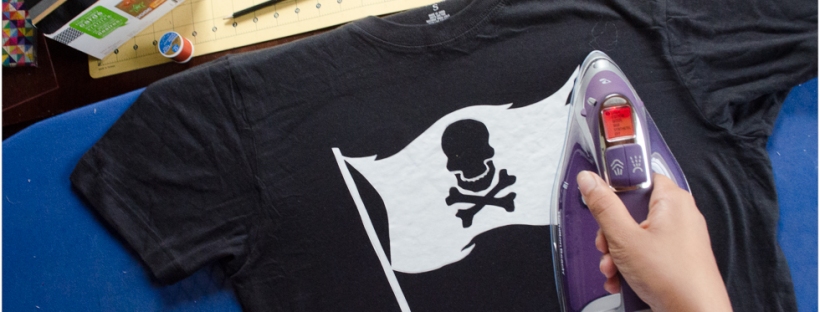
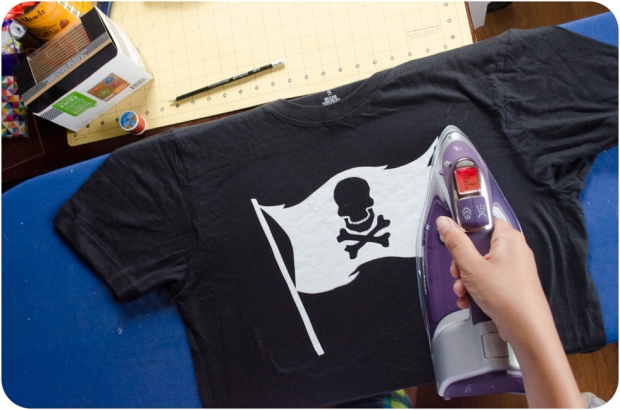
Using iron on high (cotton) setting with NO STEAM, press stencil onto your tee shirt (paper side up, shiny side down). To prevent shifting of the stencil or fabric, it’s best to press down with the iron and pick up as you cover the whole stencil (rather than swirling it around on the stencil). Try to lift the edges to ensure you’ve got the whole thing stuck down. Repeat as necessary until your stencil is firmly pressed onto the shirt.
You can see in the shot below that Duncan is pressing the flag on first. After that was in place, we added the eyes and nose and pressed.
To prep for spraying:
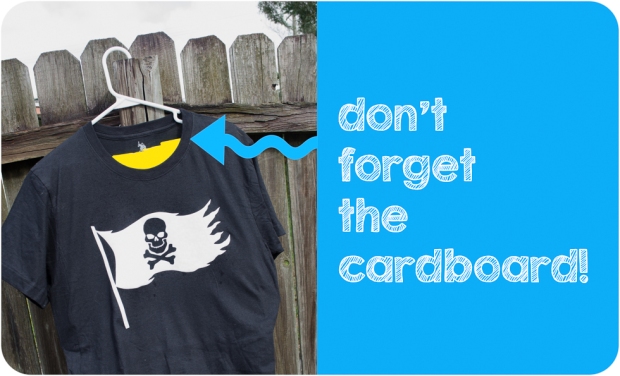
Add a piece of cardboard inside your shirt to protect the backside from bleed through (Since we crafted on a Saturday, we used the lid of the box from pizza night 🙂 ) and hang your shirt on a hanger outside to prepare for spraying.
Pour bleach into spray bottle. Do not dilute. Before spraying the bleach onto your shirt, I recommend practice spraying on an old spare tee, or testing the spray bottle with water to be sure you’ve got the hang of the flow.
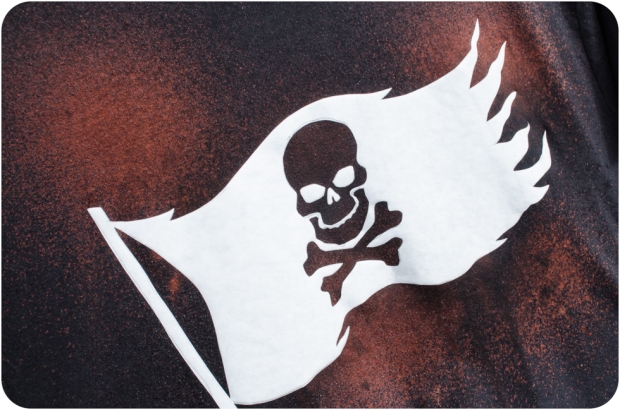
Once you’re all set… spray away! You’ll want more direct, heavier spray closest to your stencil, and less direct spritzing further from your stencil. It may take a minute or two for the color to start to fade, so give it a chance before worrying that it may not be working. Here’s a close up of the spray a minute or so in…
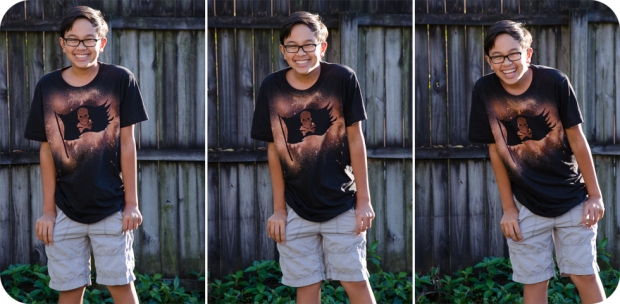
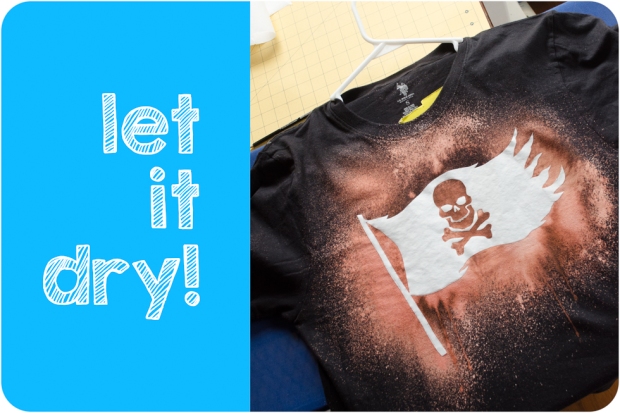
After you get an idea of the reaction, keep spraying until you’re happy with the design. Then let it dry completely. Here’s Duncan’s spray job 🙂 …
After you’re sure that you like the look of your design and it’s all nice and dry, peel your stencil off. Take a quick, close up look at your shirt. If you see dried bleach (which can look like little crystals) or if you just want to be extra cautious, toss it in the dryer for a few minutes to knock off the extra bleach. After, give it a quick hand wash in cold water before washing with your laundry… just to be sure you don’t accidentally bleach your clothes. 🙂
And, voila! There you have it… your very own DIY spray bleach pirate shirt, ready for Gasparilla!